


Coach's Guide to Medical Uniform Logo Placement: Department Approval Matrix

A uniform order can look inconsistent before it reaches the team if every department chooses a different mark location or proof reviewers use different criteria. A clear standard for medical uniform logo placement helps buyers make repeatable choices while protecting wearer comfort, pocket access, and identification needs.
This guide is for healthcare administrators, department leads, and buyers planning scrubs, lab coats, or workwear. The central principle is to choose a location based on garment construction, visibility, daily use, and the facility’s own identification policy. Treat any example as a starting point, then verify it on the actual garment and proof.
What should a department decide before choosing logo placement?
First, decide what the mark must communicate and who needs to see it. A facility logo, department label, employee name, and role serve different purposes. Set the content, location, and size together, document how the rule applies to each garment, and check existing dress-code and identification policies before requesting a proof.
Start with these questions:
- What is the mark for?
Separate organizational branding from staff identification. Decide whether the garment carries a logo, name, department label, or a defined combination.
- Who is the audience?
A mark intended for patients or visitors may need to be visible during face-to-face interaction. An internal department identifier may serve another purpose.
- Who approves it?
Name an operational reviewer and a brand or purchasing reviewer. Assign one person to combine comments so the supplier receives a clear decision.
- Which garment is involved?
Scrub tops, coats, jackets, and other layers do not share identical panels, pockets, seams, or usable space.
- What must remain readable?
A compact symbol may work where long text or multiple lines would become hard to read.
- What policy applies?
Confirm internal identification and apparel requirements before standardizing placement.
Write the standard in plain language. For example: “Place the approved facility mark on the left chest above the pocket where construction allows; use the approved size and colors; keep openings and seams clear.” Add a permitted alternative for garments where that area is unsuitable. This simple rule prevents improvisation when the proof arrives.
Consider the wearer as well as appearance. A mark across a pocket opening can impede access. Dense decoration on a lightweight panel may feel different from decoration on a sturdier coat. Ask whether the mark sits under a badge, lanyard, strap, or normal outer layer. For a recurring or large order, review a sample or mock-up with representative wearers before adopting the rule.
When comparing garment possibilities for an institutional program, the catalog request page is a practical starting point. Keep the eventual placement reference with the order record so the next buyer can reproduce the decision.
Which placement works best for each garment and use?
The best location depends on usable panel space, the message, and how the garment is worn. Chest positions are often easy to see in conversation, but pockets and seams constrain them. Sleeves and upper backs offer alternatives, yet movement or outer layers can hide the mark. Use the comparison below as a review aid, not a universal specification.
Placement | Common use | Review before approval | Possible limitation |
Left chest | Compact facility or department mark | Distance from pocket, collar, placket, and seam | Can crowd pocket access or other identifiers |
Right chest | Name, role, or alternate mark | Badge and lanyard position; consistency across garments | May compete visually with identification accessories |
Sleeve | Secondary mark when chest space is limited | Arm movement, sleeve shape, and worn visibility | Curved fabric can distort the view |
Upper back | Larger identifier when appropriate | Whether coats, aprons, or protective layers cover it | May not be visible from the front |
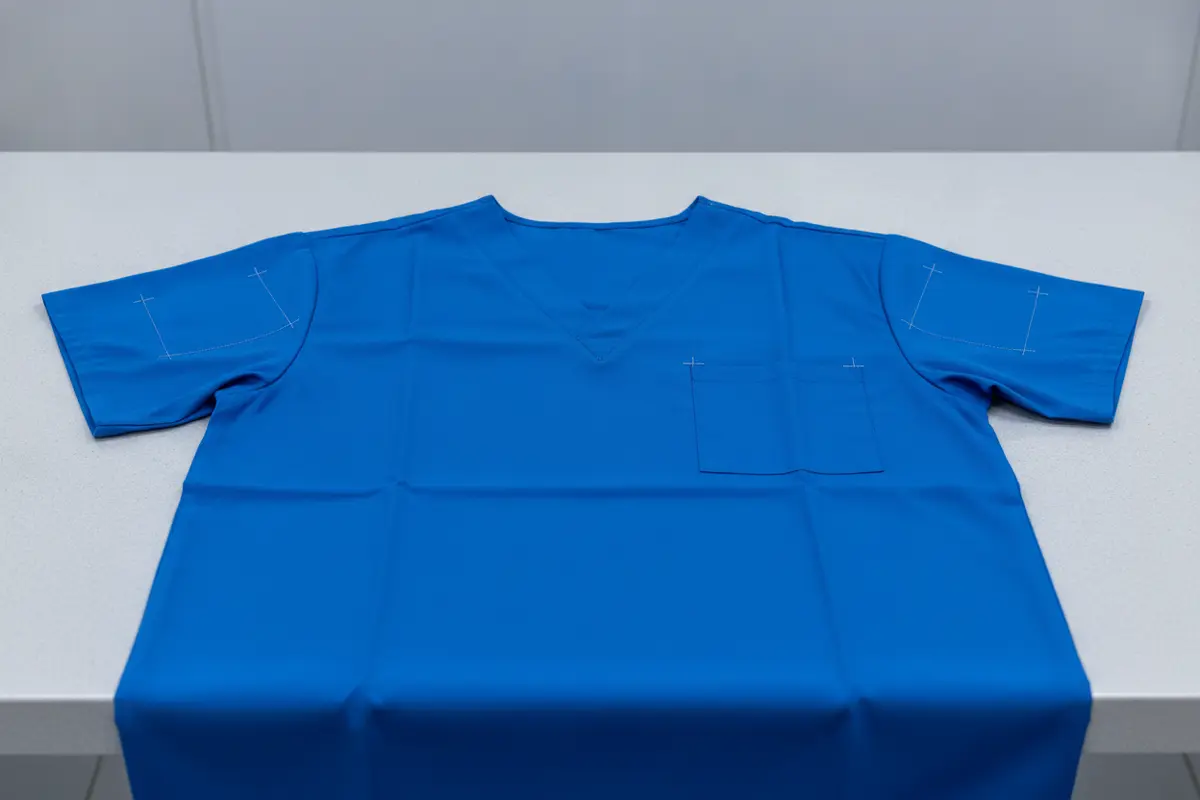
Inspect the actual garment rather than relying on a generic diagram. On a coat, compare the proposed mark with the lapel and pocket. On a scrub top, check the panel shape and pocket arrangement. Leave clear space around closures and seams, and do not decorate across a functional opening. If the location changes between garment styles, define the approved alternative rather than expecting each wearer to interpret the rule.
A sleeve can solve a crowded front panel, but it bends and moves. A flat proof can make a sleeve mark appear more prominent than it will when worn. An upper-back mark may have room, yet disappear under a jacket or apron. Ask reviewers to consider where staff stand, which layers they routinely wear, and who needs to see the mark.
For a program with several garment types, maintain one visual system without forcing identical measurements onto different panels. Use approved artwork and color treatment consistently where appropriate, then adapt exact placement to construction. Uniforms Express offers custom decoration methods such as embroidery and other approaches; the suitable method depends on artwork and garment. See uniform selection and decoration guidance when preparing program questions.
How can you create a department approval matrix?
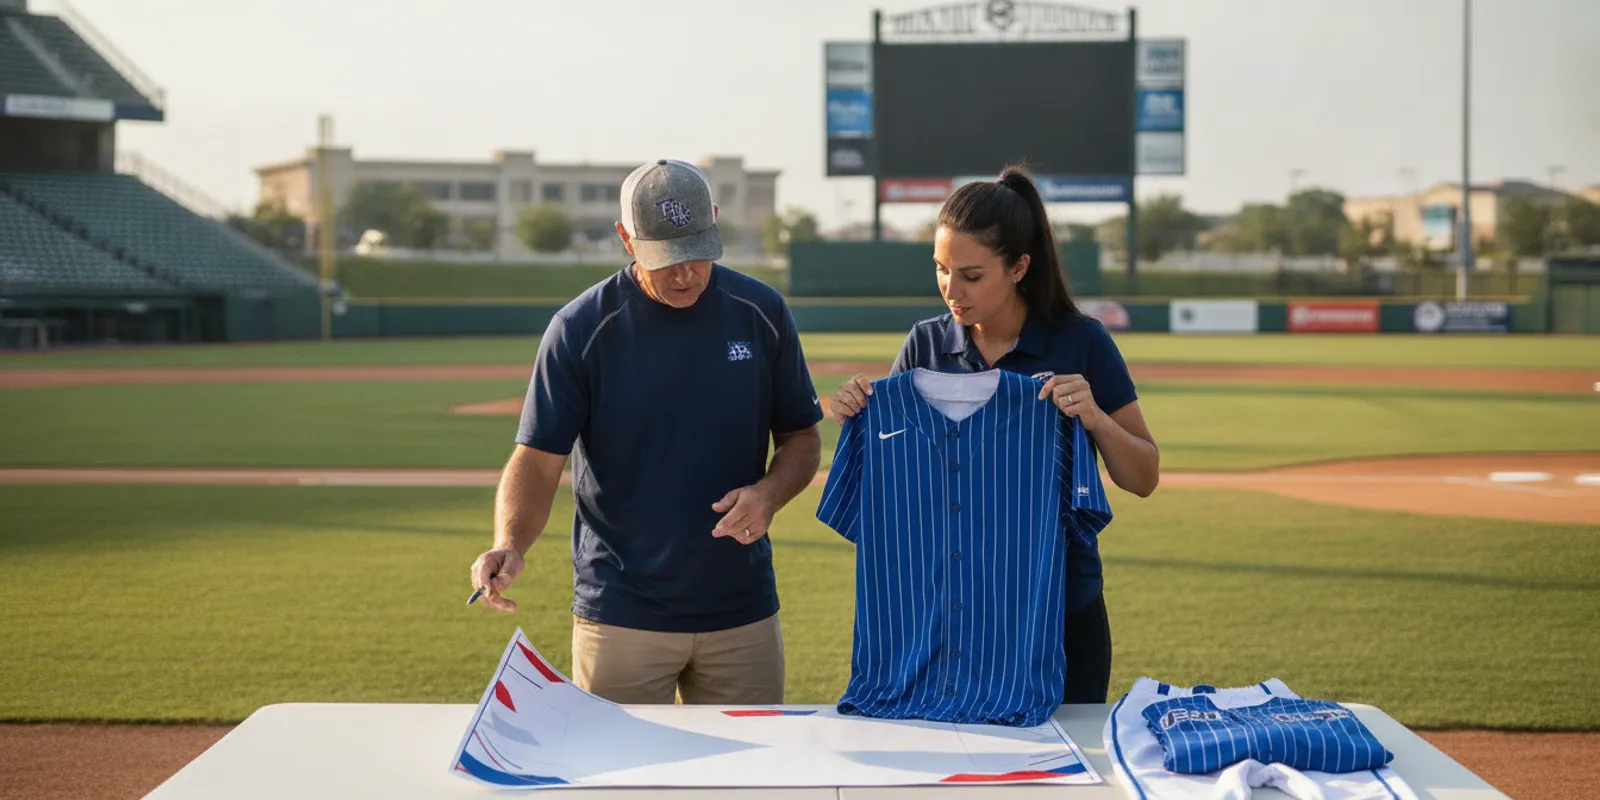
An approval matrix turns preferences into a repeatable process. For every garment and wearer group, record the mark, preferred location, allowed alternative, approver, and proof version. One coordinator should gather comments and resolve contradictions before sending revisions. The matrix helps with a first order and makes future reorders easier because it preserves the reasoning behind the choice.
Use these fields in a worksheet:
Decision field | What to record | Review question |
Garment | Scrub top, coat, jacket, or other item | Does the sample match the intended style? |
Wearer group | Department, role, or location | Does this group have distinct identification needs? |
Artwork | Approved file, wording, and color version | Is this the current approved artwork? |
Placement | Primary position and permitted alternate | Does it avoid pockets, seams, and accessories? |
Approval owner | Person responsible for consolidated sign-off | Have operational and brand comments been reconciled? |
Reorder reference | Proof version, garment detail, and approval date | Can a new buyer reproduce this specification? |
Set a decision hierarchy before reviewers disagree. Follow applicable facility policy first. Preserve garment function and wearer comfort next. Then apply the brand standard, followed by aesthetic preference. If one chest location looks attractive but covers a pocket, the hierarchy points to the functional choice. If policy requires a particular identification arrangement, it takes precedence over a general branding preference.
Have reviewers examine the same proof with the same checklist:
Confirm garment style and color match the order plan.
Check artwork, proportions, spelling, and colors against the approved source file.
Review placement against seams, pockets, closures, and garment edges.
Check that proposed size is legible and proportionate on the actual panel.
Consider the mark when worn and alongside badges or layers.
Return one consolidated approval or a numbered list of requested changes.
Keep the final proof with the order record. Note the garment, placement, decoration method, and artwork version. When a replacement garment has a different pocket or panel shape, reopen the placement review rather than copying a measurement blindly. The Uniforms Express contact page is available for order-specific questions while preparing the specification.
What should buyers check about decoration, sizing, and comfort?
Placement and decoration are connected choices. Embroidery creates a stitched, textured mark, while other methods may suit different artwork or materials. The method, design size, and panel all shape the result. Ask for a garment-specific proof and clarify whether it shows actual dimensions and location. Do not assume a method works equally well on every material or area.
For embroidery, look closely at fine lines, small lettering, and dense sections. Complex artwork may need adjustment to remain clear at the proposed size. Review it at intended dimensions, not only enlarged on a screen. With printed decoration, check contrast against the garment color and confirm that text remains readable. If the artwork has several versions, name the exact file and color treatment in the approval notes.
Comfort should be an explicit criterion. Ask whether the proposed location falls beneath a strap, badge, or area frequently pressed against the body. Consider garment weight and whether a large or dense design may be noticeable to the wearer. If a coat or other layer is usually worn over the top, decide whether the mark must remain visible or serves another identification purpose.
Separate garment fit approval from logo approval. Confirm the size range and style for intended wearers, and consult the uniform sizing charts as a planning reference. A correct decoration proof does not establish that a garment fits each person. Set a roster collection process, a deadline, and a way to resolve missing or uncertain sizes before order authorization.
When several departments share an order, decide whether one core logo is sufficient or if role and department wording varies. Keep variations controlled by recording exact text and which garments receive it. For example, central purchasing can maintain one artwork file and a matrix row for each department, rather than allowing each group to send a different logo version. This preserves consistency while accommodating defined needs.
How should you plan the proof, order, and reorder?
Plan backward from the date garments are needed, but confirm the schedule for the actual products and decoration rather than assuming a universal timeline. Artwork corrections, size collection, approver availability, and delivery details all affect planning. A calendar with clear owners helps catch missing decisions before order submission.
Use four checkpoints:
- Gather requirements.
Confirm policy, garment types, wearer groups, approved artwork, and the date garments are needed.
- Set the specification.
Agree on style, size collection, placement, decoration method, and permitted alternatives.
- Review the proof.
Have named reviewers use the matrix, consolidate edits, and approve the corrected version.
- Confirm the order.
Verify quantities, final artwork, garment details, delivery information, and schedule before authorizing production.
Build time for corrections and late roster information. Set a response date for reviewers and name a backup approver. On a repeat program, retrieve the previous proof and notes, then verify that the garment, artwork, and policy remain current. A reorder is a chance to catch changed garment construction or revised identification requirements, not merely repeat an old attachment.
For a buyer still comparing options, the Uniforms Express website offers a starting point for product information. You can also use the catalog request page to explore options and prepare questions for an institutional order. Keep questions specific: identify the garment, intended use, decoration, and desired timing so the discussion can address relevant constraints.
For supplier ordering terms, review the terms and conditions and confirm order-specific details directly before submitting. Identification practices should also follow applicable workplace requirements. The U.S. Occupational Safety and Health Administration explains employers’ general duty to provide a workplace free from recognized serious hazards; that responsibility is broader than logo placement and does not prescribe a universal logo location. Consult the official OSHA website and follow facility policies.
A worked example: two garments, one standard
Imagine a clinic that orders scrub tops for one group and lab coats for another. Its first draft says “logo on the left chest,” but the two garments have different pocket shapes and the coat is often worn over the scrub top. The buyer can turn that broad preference into a usable rule by testing each garment separately.
Lay out or review the actual scrub top and coat styles, noting pocket edges, seams, and closures.
Place a temporary paper or digital mark at the proposed location and compare its scale with the usable panel.
Ask a representative wearer to check visibility with normal badges and layers in place.
Record the preferred position for each style and specify an alternate only when construction prevents the primary placement.
Send one consolidated decision with the proof version and retain the approved reference.
The result may keep the same left-chest visual principle while using slightly different positions on the two garments. That is more consistent than forcing the exact same measurement onto unlike panels. The standard should define what must stay consistent—approved art, color, relative visibility, and clear functional space—and where garment-specific judgment is allowed.
Common approval problems and how to prevent them
Many revisions happen because reviewers receive an incomplete brief. A logo file may be current but the wording is not; a proof may show the artwork but omit scale; or one department may approve placement without considering an outer layer. Address these common gaps before circulation:
- Conflicting comments:
Ask reviewers to identify the issue and desired correction, then appoint one coordinator to reconcile feedback.
- Unclear artwork versions:
Use a file name or version date in the matrix, and remove obsolete versions from the approval packet.
- Proof viewed only on screen:
Ask for actual dimensions and compare them with the garment panel or sample.
- Accessory interference:
Test the proposed location with badges, lanyards, and common layers in place.
- Late changes:
Set a cutoff for revisions and identify which decisions need renewed approval if changed afterward.
- Unrecorded exception:
Add the garment-specific alternative to the matrix rather than relying on memory or a one-off email.
This process does not require a complicated committee. It needs clear ownership, current artwork, a garment-specific proof, and a retained decision. Those basics reduce ambiguity for the buyer and make later substitutions easier to assess.
How can you keep a uniform program consistent over time?
Consistency depends on managing changes, not just approving the first order. A logo may remain unchanged while the garment style, wearer group, policy, or accessory arrangement shifts. Keep a small record that lets the next buyer identify what was approved and know when a new review is necessary.
Store these items together: the approved artwork file, proof image, garment name or style, decoration method, placement notes, decision owner, and approval date. A short change log can note why an exception exists, such as a pocket occupying the usual chest area. If the department adds a new role or garment, the buyer can compare it against the existing standard and decide whether the old rule still fits.
Use a simple change test at reorder time. Ask whether the exact garment remains available, whether panel or pocket construction differs, whether artwork has been updated, and whether facility identification policy has changed. If all remain the same, the retained proof provides a useful reference. If one has changed, reopen only the affected decision rather than restarting every approval from zero.
For multiple sites or departments, give each approved variant a clear label. “Standard chest placement” is more useful when paired with garment type and the group that uses it. Avoid vague notes such as “same as last time” unless the previous order and proof can be located. A consistent naming approach also helps buyers compare an incoming proof with the right historical version.
Finally, decide who owns the record. It may be a purchasing lead, administrator, or designated uniform coordinator, depending on the organization. Keep access practical so staff responsible for reorders can find the reference without searching old message threads. When a new reviewer joins, the record should explain the rule well enough that they can understand the reason behind it.
Frequently asked questions
Should a medical uniform logo go on the left or right chest?
Either can work if it fits the panel, remains visible, avoids pockets and seams, and does not compete with badges or identification. Choose one written rule for comparable garments and define exceptions where construction differs.
Can every department use the same logo placement?
A shared standard can improve consistency, but garment construction or identification needs may require an approved alternative. Record exceptions by garment and group so they do not become informal one-off decisions.
How large should an embroidered mark be?
There is no single size for every design and garment. Review the artwork at intended dimensions, confirm key details remain clear, and ensure it fits the usable panel without crowding closures or pockets.
What should buyers review on a logo proof?
Confirm garment style, artwork, wording, color, size, and location. Check the design against pockets, seams, closures, and accessories, then collect one consolidated response and retain the approved version.
How should a department collect sizes?
Confirm the garment style and size range, set a roster deadline, and ask each wearer to use the appropriate sizing reference. Resolve missing or uncertain sizes before authorizing the order; logo approval and fit confirmation are separate checks.
How far ahead should a department order uniforms?
Work backward from the required date and leave time for size collection, proof review, corrections, and delivery. Confirm timing for the specific garment and decoration rather than relying on a general assumption.
How can a department keep reorders consistent?
Save the approved art, proof version, garment details, placement, and decoration notes. For each reorder, verify that the garment and requirements remain current before repeating the specification.
A clear placement standard, one accountable approver, and a retained proof make uniform programs easier to review and repeat. Use the matrix as a practical starting point, then confirm each decision against the actual garment and your department’s requirements.


Comments